Published Book on Amazon
| All of IOT Starting with the Latest Raspberry Pi from Beginner to Advanced – Volume 1 | |
| All of IOT Starting with the Latest Raspberry Pi from Beginner to Advanced – Volume 2 |
출판된 한글판 도서
| 최신 라즈베리파이(Raspberry Pi)로 시작하는 사물인터넷(IOT)의 모든 것 – 초보에서 고급까지 (상) | |
| 최신 라즈베리파이(Raspberry Pi)로 시작하는 사물인터넷(IOT)의 모든 것 – 초보에서 고급까지 (하) |
Original Book Contents
9.10 Setting Peripherals Interface Device
This section introduces briefly the configuration of the interface device installed in the system used by Raspberry Pi to interface with external peripherals.
This section is a best expert-level topic and is not appropriate to describe here, so I will have the opportunity to elaborate on it in other books:
■ Enabling SPI(Serial Peripheral Interface)
The SPI bus is a bus-type interface device designed to communicate with a number of lower SPI devices. Raspberry Pi can only operate as a master on the bus.
For more information on this topic, refer to [25.2.2.2 Special Purpose GPIO].
■ Enabling I2C(Inter-Integrated Circuit)
The I2C bus is a bus-type interface device designed to communicate with a number of lower integrated circuit slave devices. Raspberry Pi can work as a master on the bus.
For more information on this topic, refer to [25.2.2.2 Special Purpose GPIO].
■ Enabling One-Wire Interface
This specifies whether to activate the One-Wire Interface.
The setting method is not described specifically.
■ Enabling Shell connection to Serial
This specifies whether the Shell can connect through serial connection.
The setting method is not described specifically.
■ Enabling Remote connection to GPIO Pin
This set whether to connect GPIO pin remotely.
The setting method is not described specifically.
9.10.1 Setting SPI (Serial Peripheral Interface)
To configure the SPI, use the [Advanced Options] item. Select the item and press the [Enter] button.
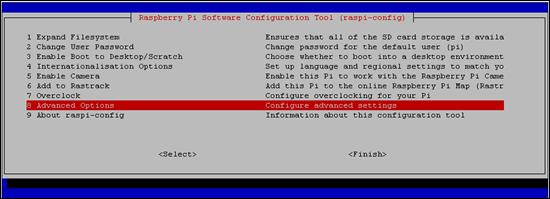
Then the next screen to select various options starts. Select the [SPI] item and press the [Enter] button.

Figure 9‑17 Setting SPI in "raspi-config" command
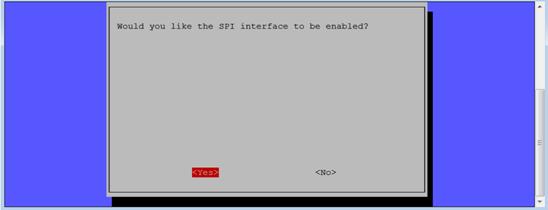
Then, the screen to specify whether to activate the SPI appears. Select [YES] to activate SPI, [NO] to disable, and then press [Enter] key.
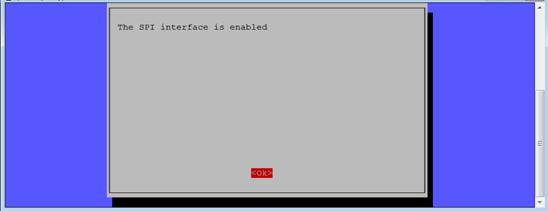
The following screen will appear to let you know that the SPI has been enabled. Press [Enter] key here to complete all processing.