Published Book on Amazon
| All of IOT Starting with the Latest Raspberry Pi from Beginner to Advanced – Volume 1 | |
| All of IOT Starting with the Latest Raspberry Pi from Beginner to Advanced – Volume 2 |
출판된 한글판 도서
| 최신 라즈베리파이(Raspberry Pi)로 시작하는 사물인터넷(IOT)의 모든 것 – 초보에서 고급까지 (상) | |
| 최신 라즈베리파이(Raspberry Pi)로 시작하는 사물인터넷(IOT)의 모든 것 – 초보에서 고급까지 (하) |
Original Book Contents
21.3.2 Screen Capture Using <Scrot> Program
21.3.2.1 Overview of Program Execution
You can use the following command to capture the screen of your system. There are several ways to capture the screen, depending on the option. Typical functions include full screen capture, selected screen capture, focused screen capture, and capture after specified time.
[Command Format]
| scrot [OPTION] |
[Command Overview]
■ This captures the screen of the system and save it as an image file.
■ User privilege -- Normal user.
[Detail Description]
■ None
[Main option]
| -h, --help | display this help and exit |
| -c, --count | Display a countdown when used with delay. |
| -d, --delay NUM | Wait NUM seconds before taking a shot. |
| -s, --select | Interactively select a window or rectangle with the mouse. |
| -u, --focused | Use the currently focused window. |
21.3.2.2 Capturing Full Screen
To capture the full screen, run the program without specifying any special options. Run the <Scrot> program as shown below.
| pi@raspberrypi ~ $ scrot |
Then, the captured file is saved in the name as "2015-03-26-074740_1280x1024_scrot.png" in the current directory. If you check the contents, you can see that the whole screen is captured as follows.
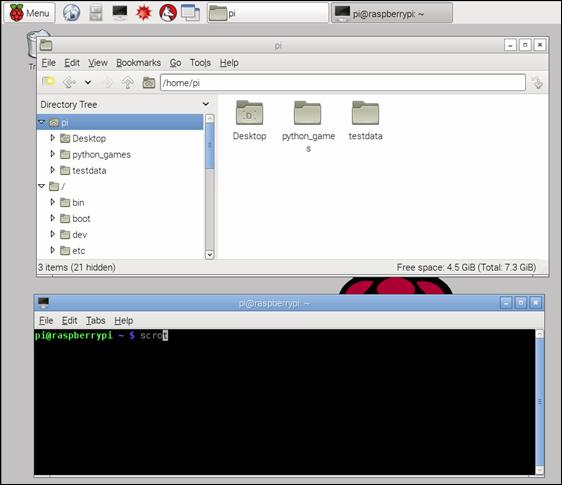
Figure 21‑5 Full screen capture using <Scrot> program
21.3.2.3 Capturing Partial Screen
Use the "-s" option to capture only partial screen, not the full screen. Run the <Scrot> program as shown below.
| pi@raspberrypi ~ $ scrot –s |
After executing the command, drag the desired area on the screen with the mouse to designate the area to be captured. When the operation is completed, the captured file is saved in the name as "2015-03-26-074914_946x466_scrot.png" in the current directory. If you check the contents, you can see that the designated screen is captured as follows.
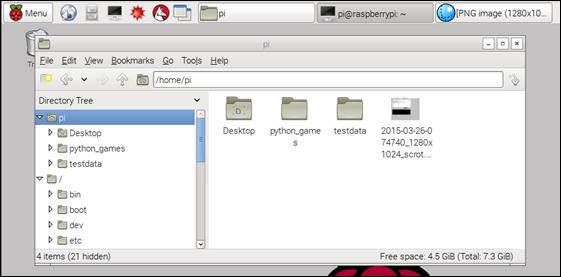
Figure 21‑6 Partial screen capture using <Scrot> program